There are no items in your cart
Add More
Add More
| Item Details | Price | ||
|---|---|---|---|
In this guide, you will learn to track different Events and Pages on the Graphy website using Facebook Pixel.
To track different events and pages, you must integrate Facebook Pixel with the Graphy website in the first place.
If you haven't integrated Facebook Pixel with Graphy website yet, you can follow this guide to do so.
Going further with the previous guide:
To start creating different events on the Pixel, we need to follow the given path from the home of the Meta Business Manager.
Settings > Data sources > Pixels > Open in Events manager
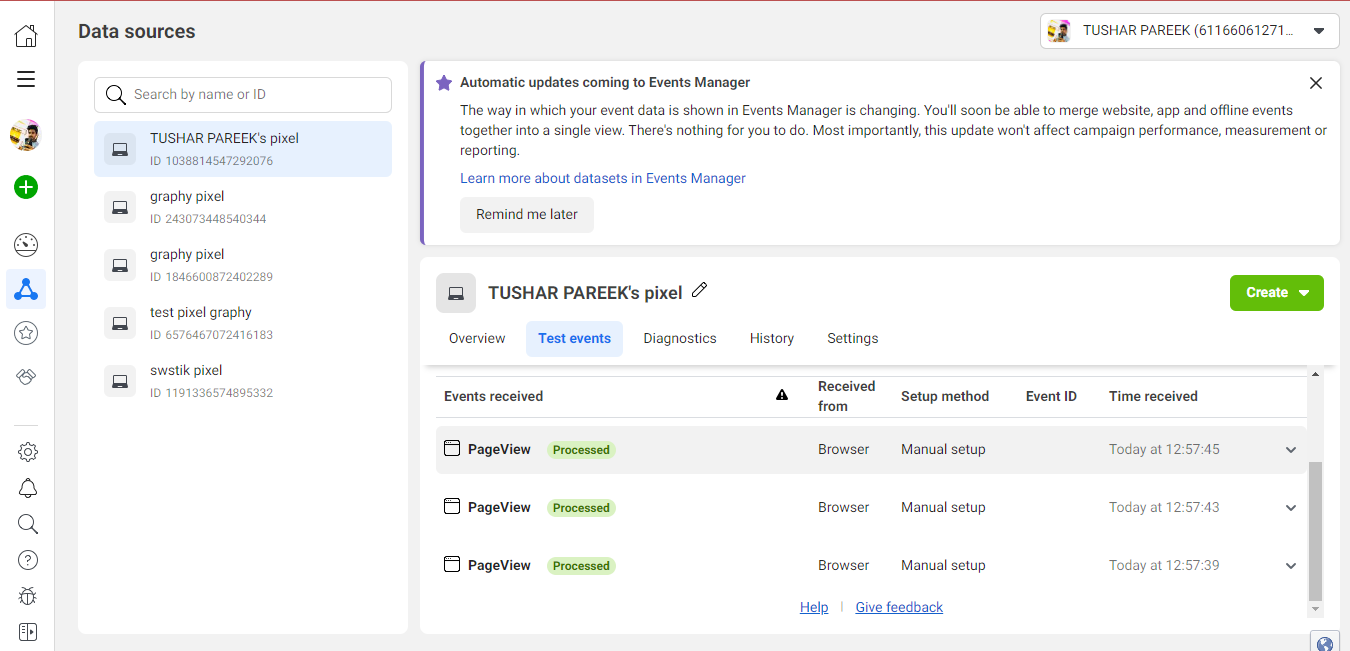
Upon following the given path, you will be redirected to this page.
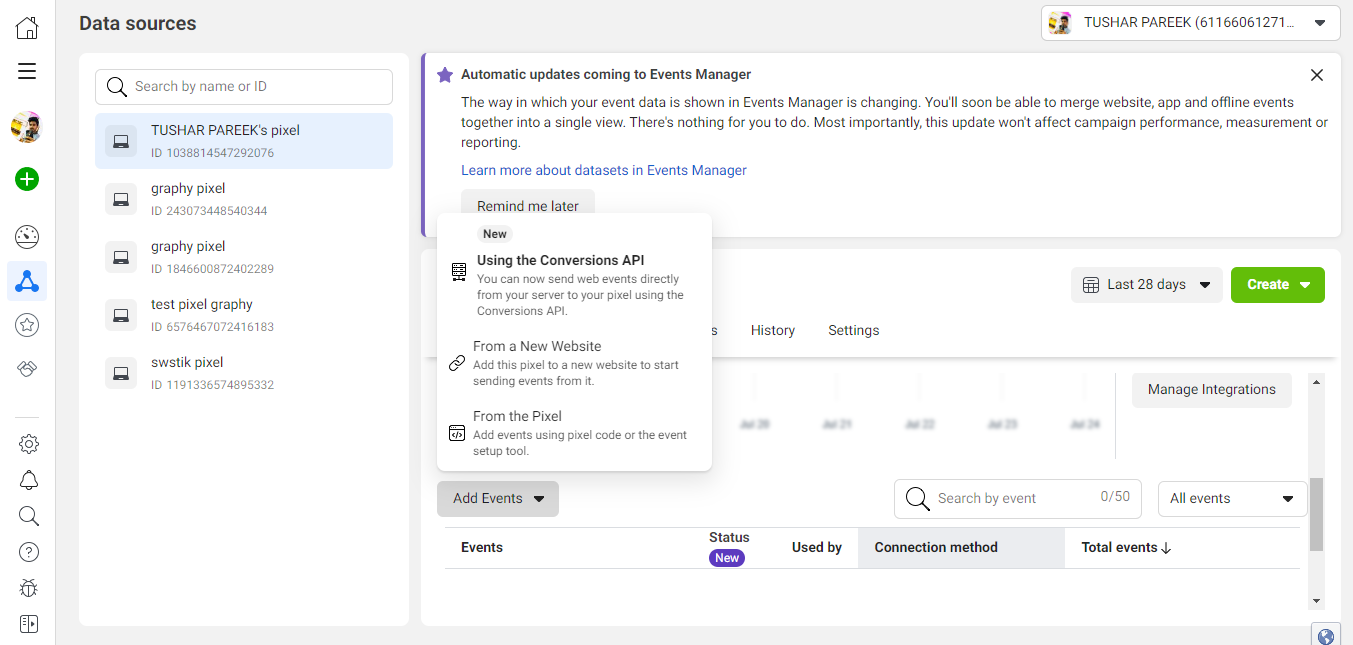
After scrolling down on the given page, you will get an option to “Add Events”.
You can directly click on it and navigate to the “From the Pixel” option from the dropdown menu.
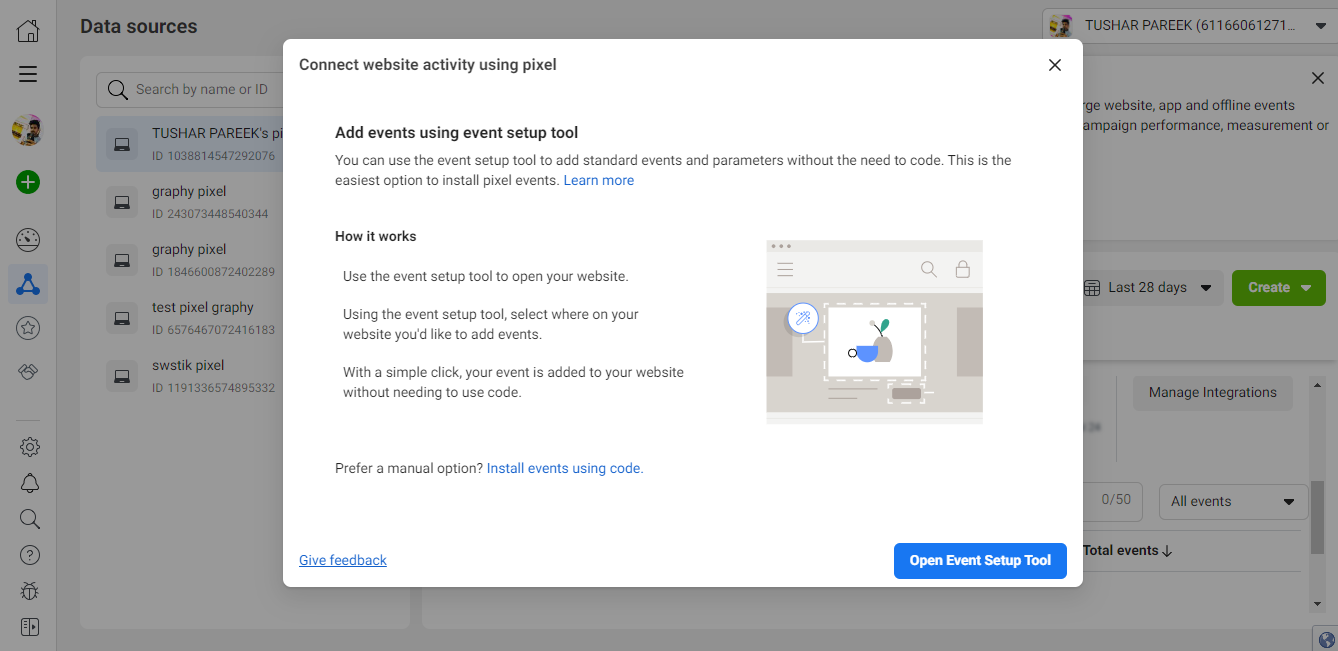
Once you click it, you will be redirected to this page.
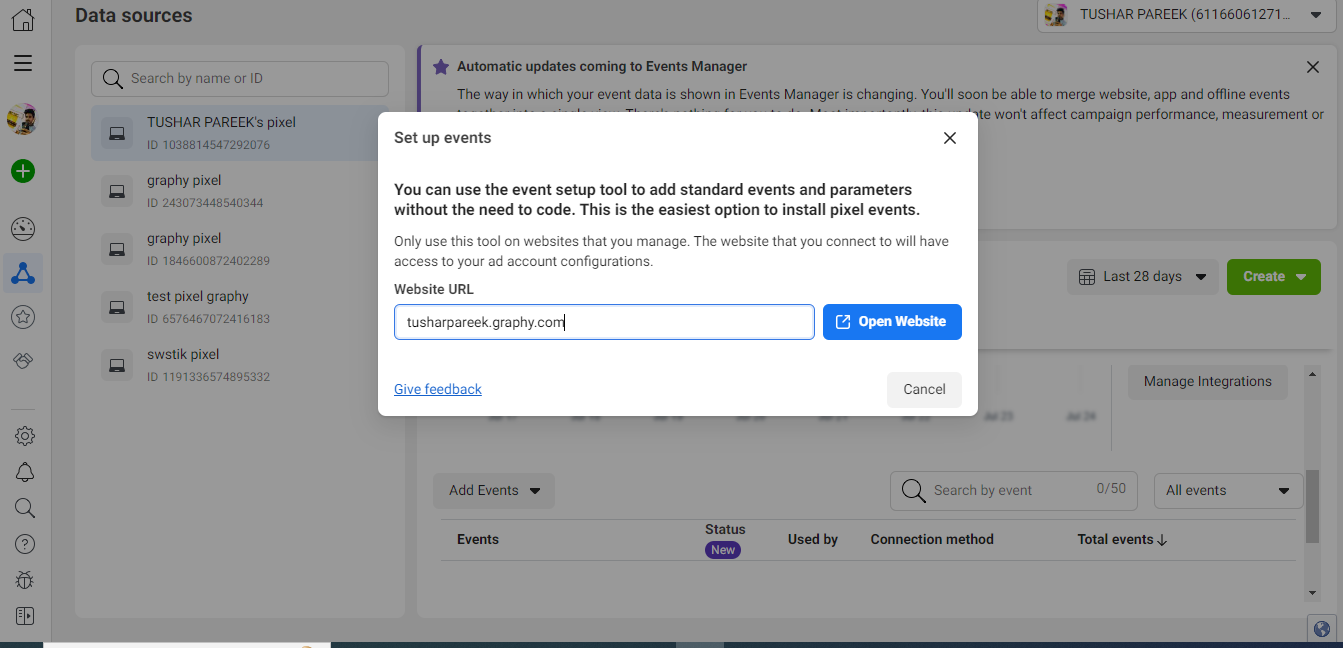
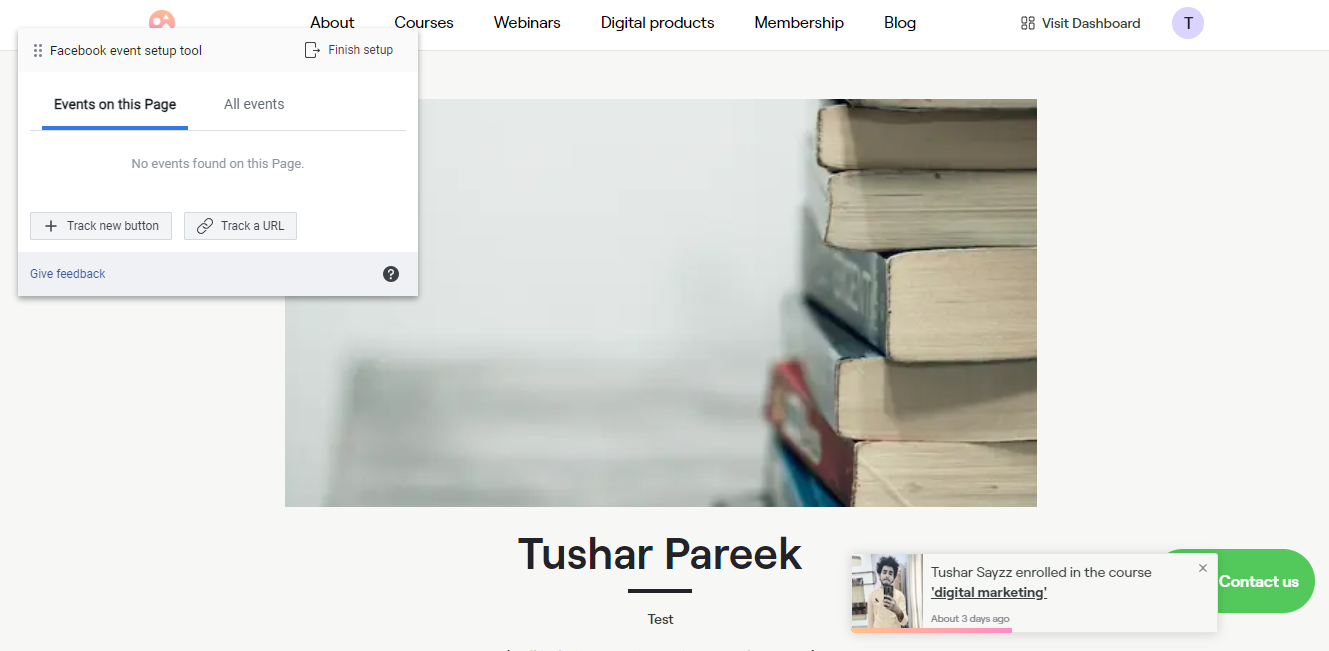
Here, you need to click on the “Open Event Setup Tool” button. After clicking the button, a new pop-up will be shown where you need to put the website URL.
Here, you need to add the link of the website which you have integrated with Facebook Pixel, it will redirect you to the website and then you would be able to create different events over there.
Here, you can track different buttons as well as different URLs available on this website.
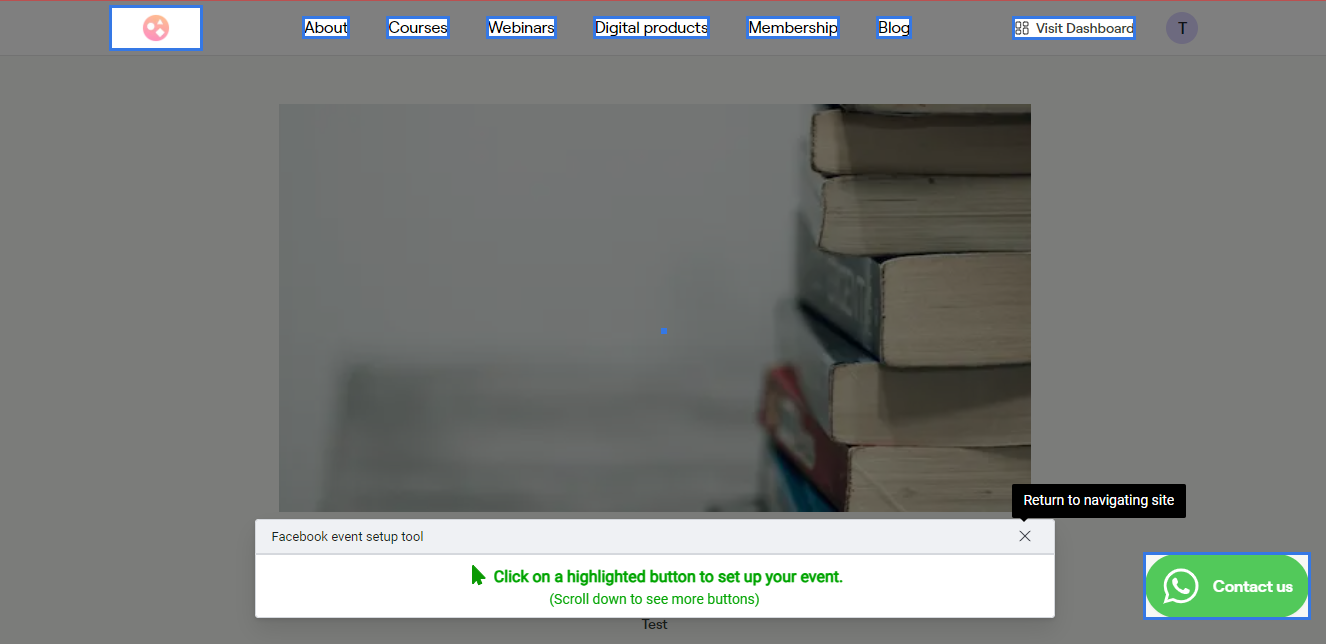
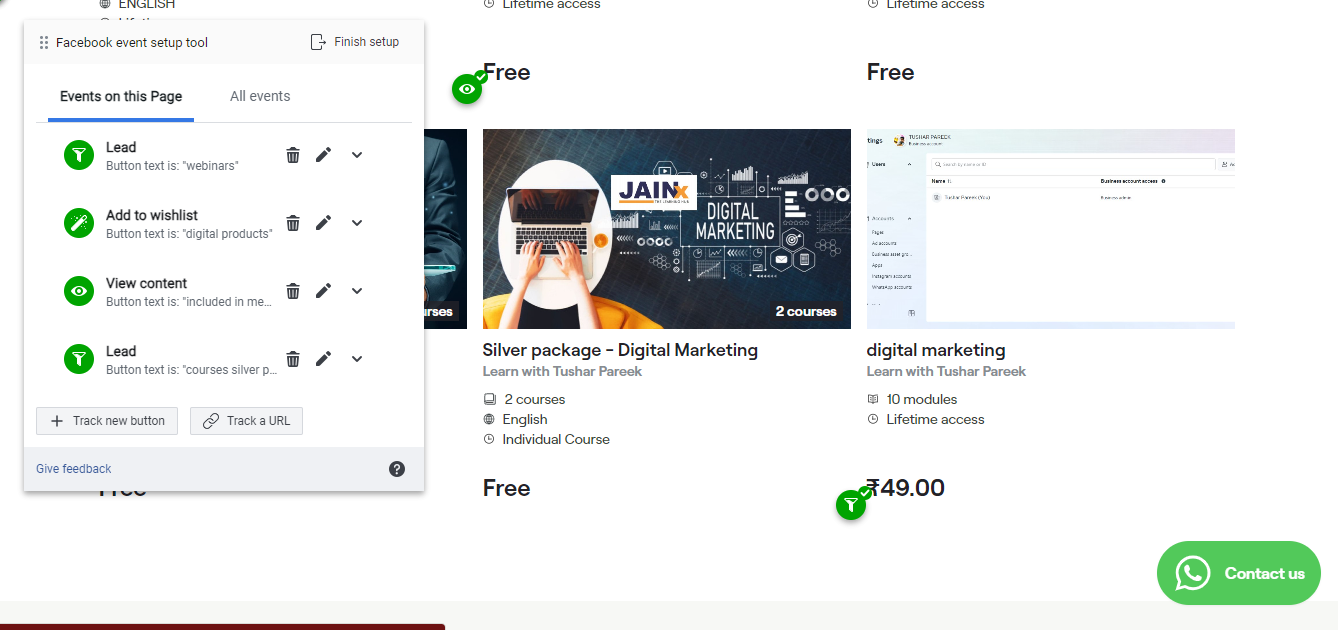
We will start by tracking buttons, for that you need to click on “Track New Button” option.
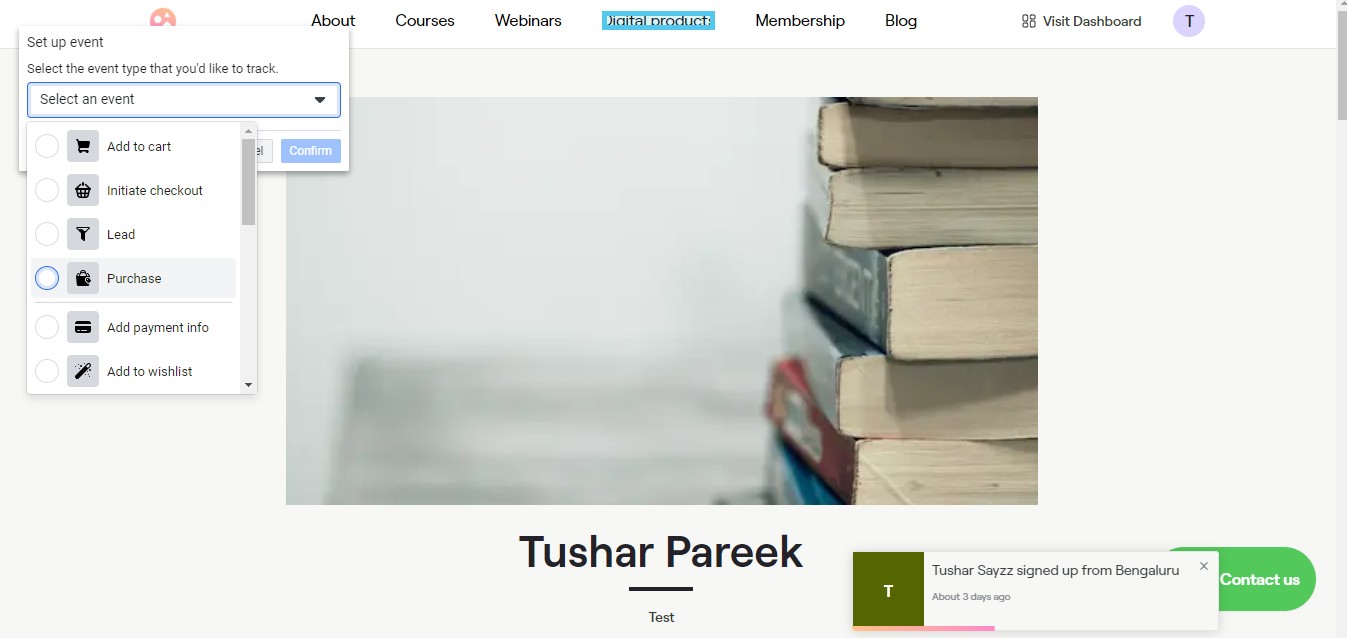
Here, all the buttons on the website will automatically be highlighted, you just need to choose a button which you want to track and assign that button, a predefined event name.
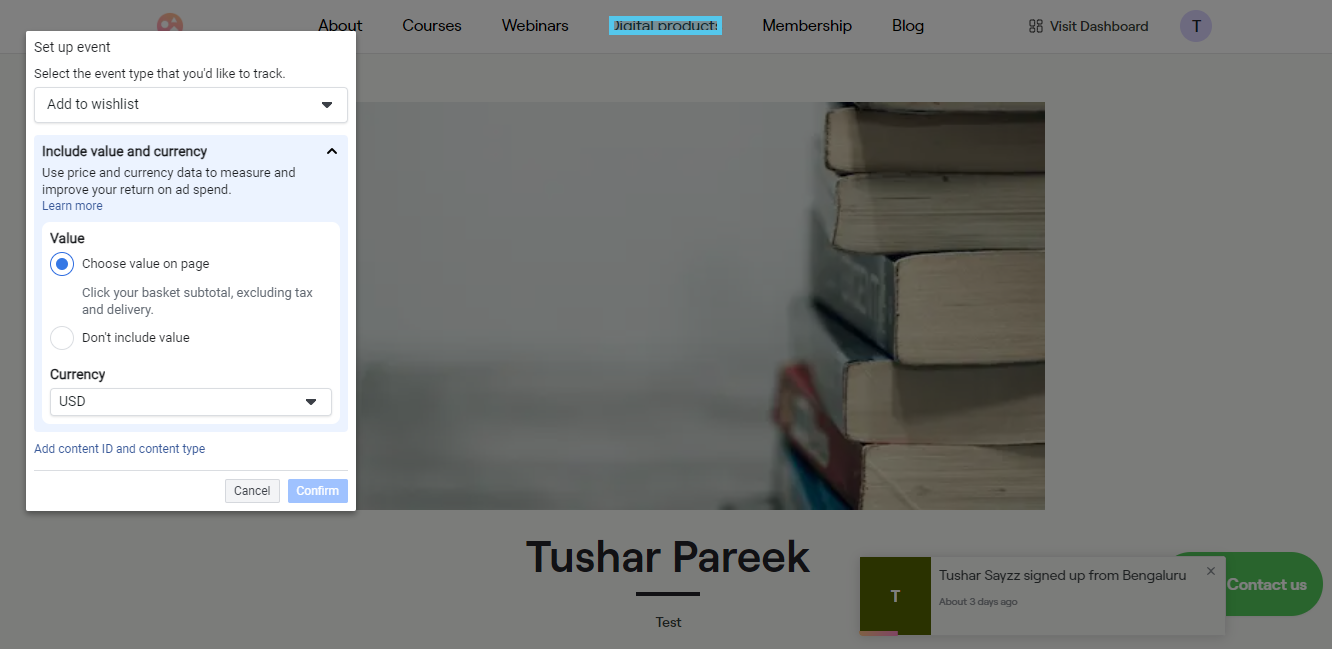
Here, you have chosen the “Digital Products” button and you are now assigning it a specific event (You can assign any button to any event, Event will only trigger when you click on that specific button).
You can even assign monetary values to the different events and you would be able to track how much you got financially benefited from the events which triggered.
You can create different types of events on a single page as well, based on tracking different buttons and URLs.
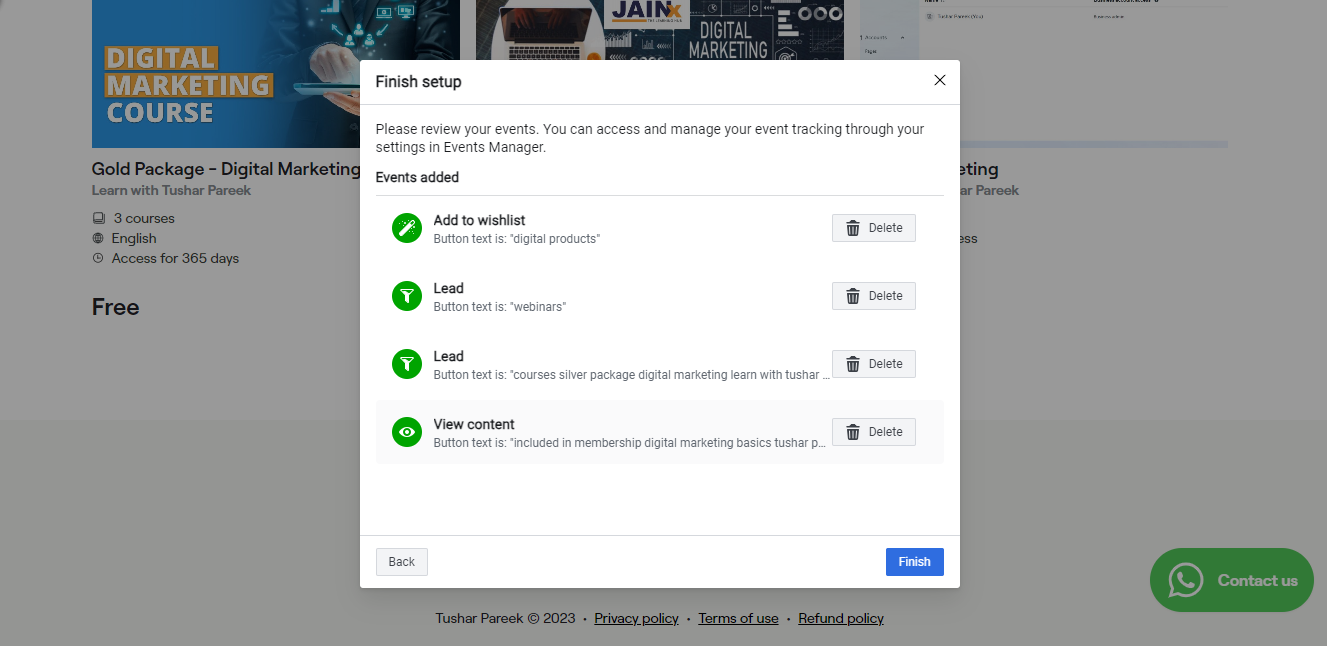
Once you are done assigning events to different buttons and URLs, you can just click on the “Finish Setup” button, and you would be shown all the different events which you have created on the website, you can even re-confirm them and click on the "Finish" button.
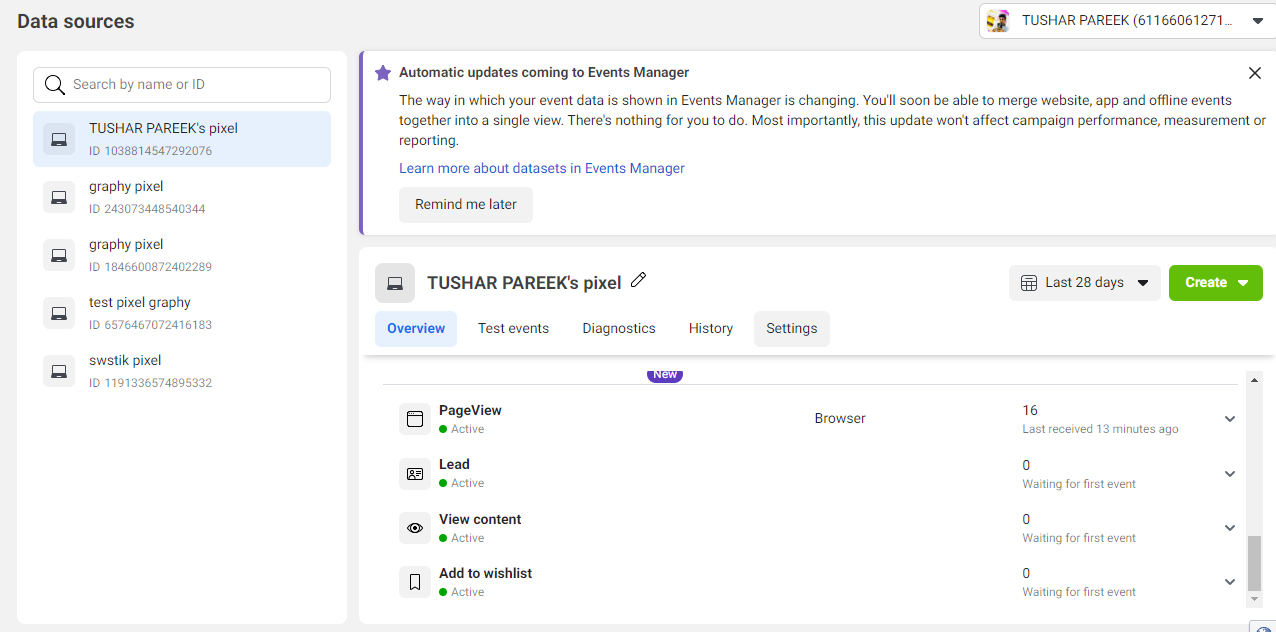
Here, you can test the events again in the Test Events section, after putting the website URL, this time we would be able to track the events which we have just created.
If you have any issues in the implementation part, feel free to reach out to us.
